
 |
 |
 |
 |
 |
 |
 |
 |
 |
 |
 |
 |
KidWalk Setup & Adjustments
This page shows photos of the proper way to put a child in the KidWalk and have it adjusted to them within 30 seconds.
First step:
Measure child's inseam; lower seat on mast to this position
Move pelvic and trunk laterals to widest position.
Open up both pelvic and trunk pads in the swing-up position
Note: Shown with large headrest
Second step:
Place child in unit facing toward you
Third Step:
Bring down front trunk pads and latch safety buckle so the child feels secure.
Fourth Step:
Bring down pelvic pad and latch safety buckle, at this time child feels very secure.
Push down lever behind each large wheel to set brakes
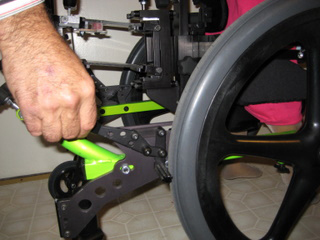
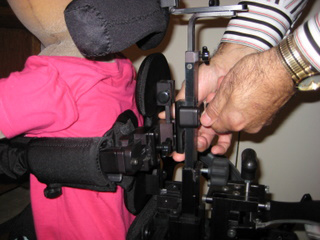
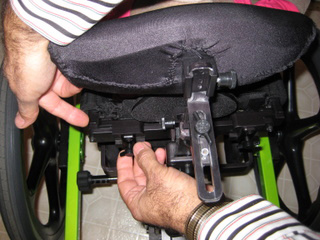
By loosening this knob you are able to raise or lower the pelvic positioner.
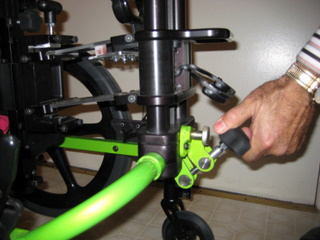
This knob that is being turned is for the bilateral hip adjustment which either tightens or loosens the hip guides symmetrically for a centered pelvic position.
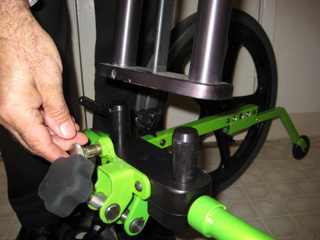
This knob is used to adjust the depth on the pelvic positioning pad. It is important to set this fairly tight to be sure it positions the legs underneath not in front of the child. If legs have tight hip flexion leg guides would be recommended, pictured below.
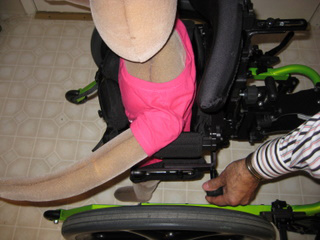
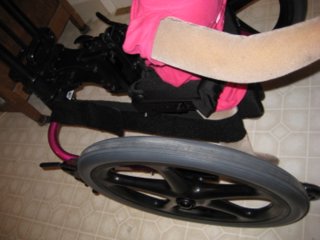 Dynamic leg guides are recommended for users who posture into hip flexion to provide gentle range of motion and kinesthetic feedback for leg position. The leg guides are wrapped just above the knees and attached around the vertical mast. Each leg guide can be adjusted to the desired tension to give best possible function.
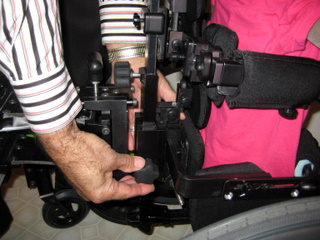
This knob adjusts the width on the front pelvic positioning pad.
This shows the height adjustable upper body support unit adjustment point
This shows the back of the upper trunk pad where it can be width adjusted at this point.

This knob located on the bottom is to adjust the depth on the upper body support unit.
This knob allows the width adjusted on the front pad of the upper body support unit
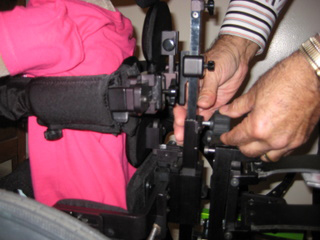
This shows the point of adjusting the spine allowing for infinite height adjustment of the upper body support unit.
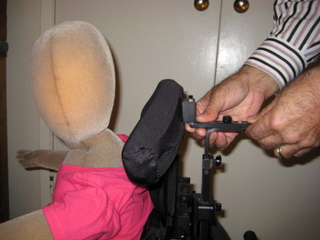
At this location there is both height & depth adjustments for the headrest.
Note: This is an optional large size headrest.
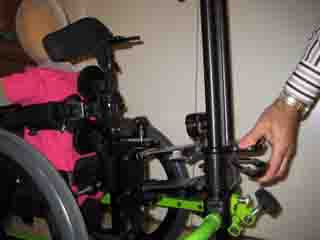
By squeezing the two handles together you can raise the unit up when weighted.
By pushing this handle forward it allows the unit to be lowered down with weight
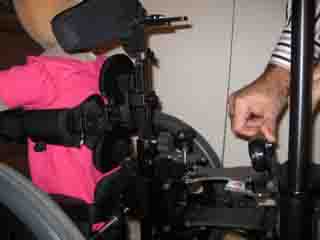
By turning this knob it allows the unit to either tilt forward or backward with weight
By pulling and twisting the silver knob, it releases the frame from the vertical adjustment mast for storage or transport
Quick release wheels allow to break down unit for easier transport.
For more information contact: www.primeengineering.com